3
3
Sending a Market Report is a great way to stay top of mind with your leads and sphere of influence. The reports are emailed once a month on the 7th day. To learn more about the information included in a Market Report, check out the basic details or metrics tracked.
This tutorial will show you how to create a report for a contact and their spouse/family member/partner/etc.
📺 Click here for a video tutorial 📺
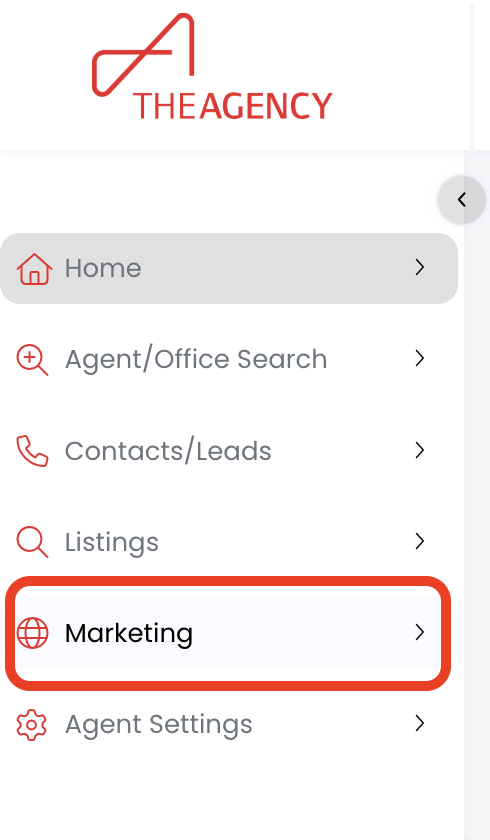
1.) Click on the Marketing menu
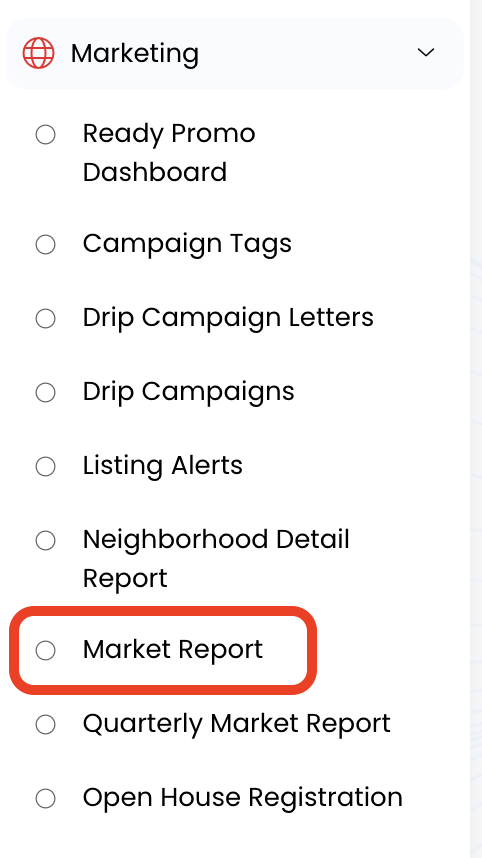
2.) Click on Market Report
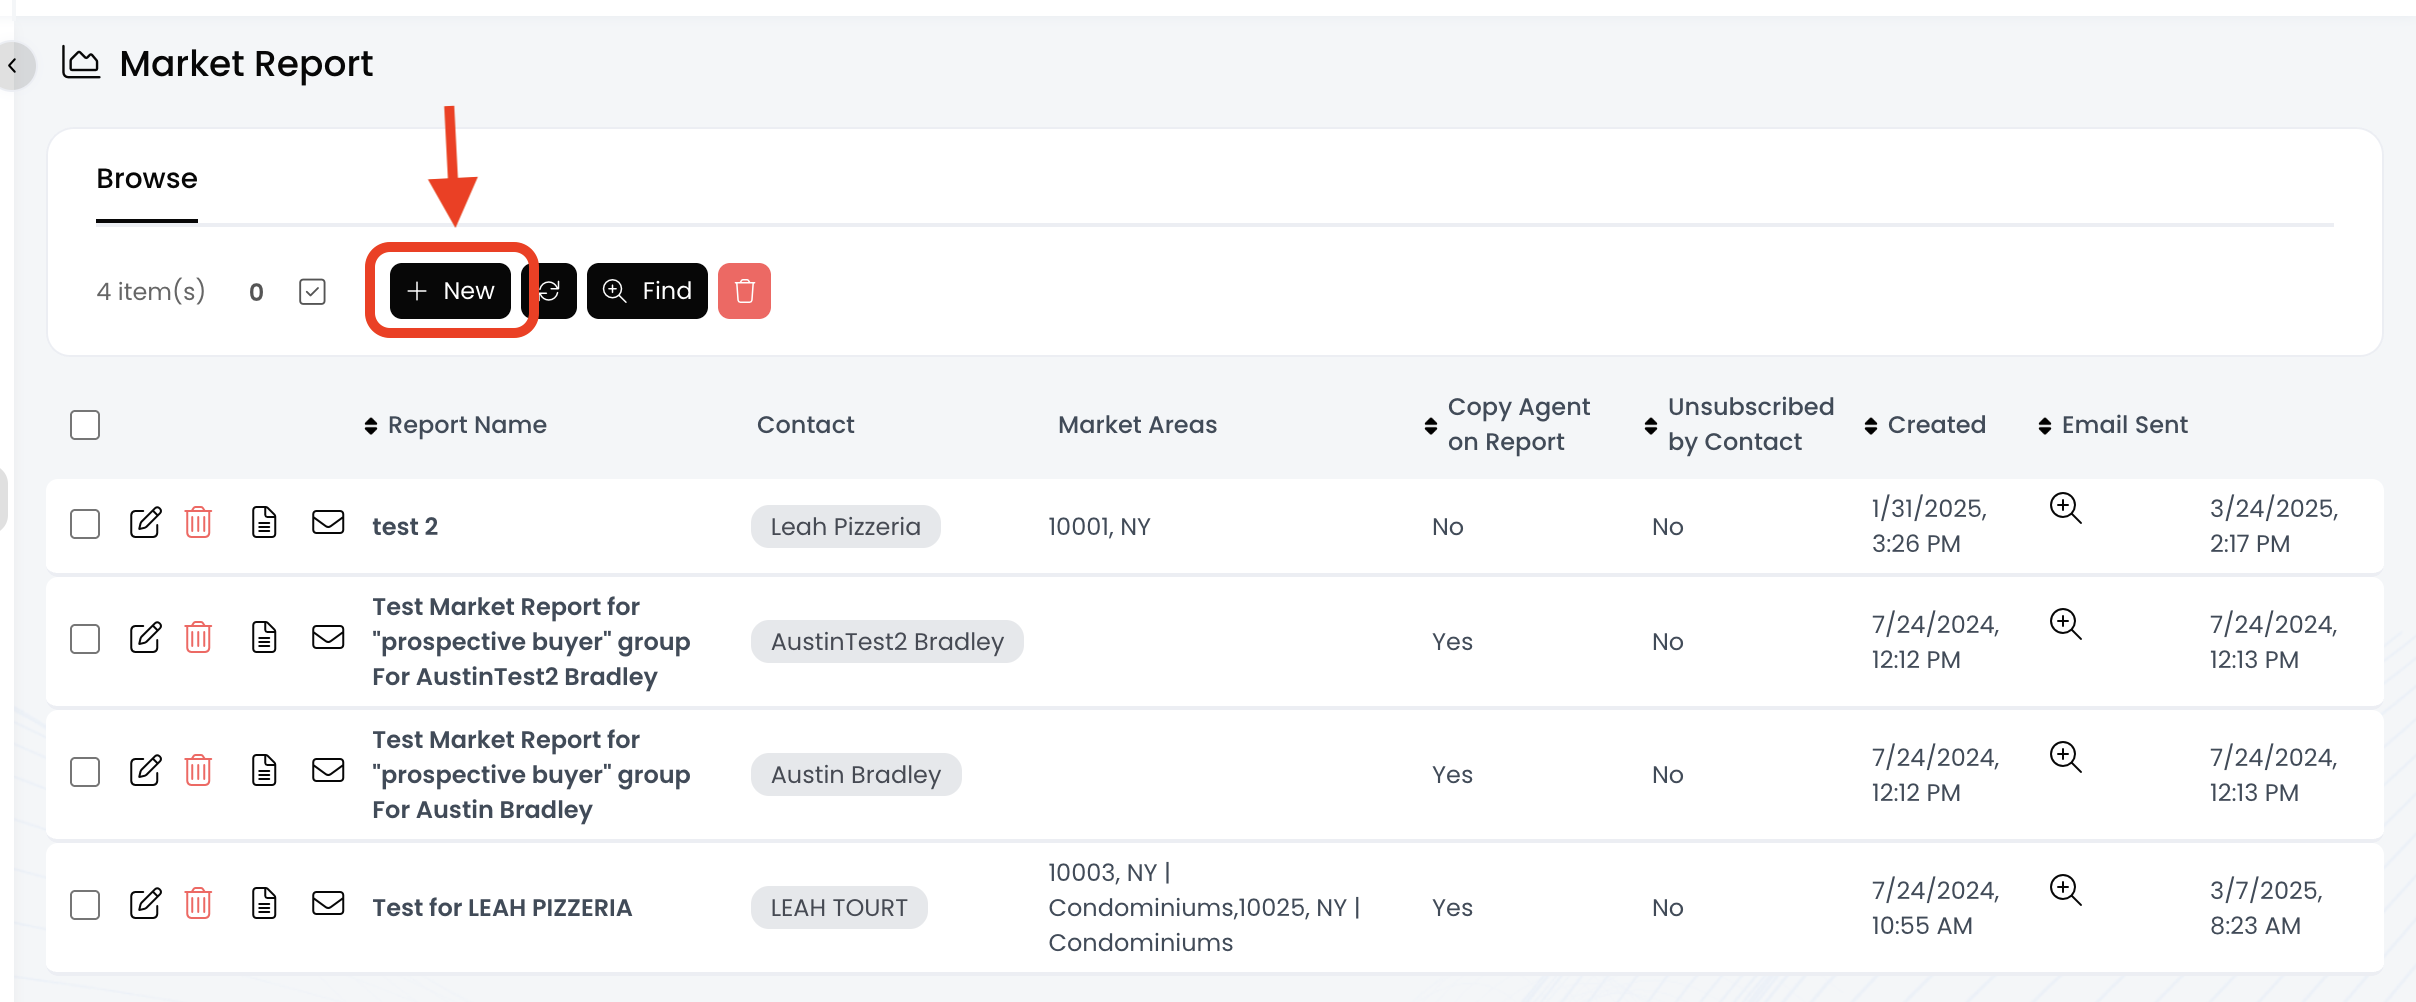
3.) Click on the + New button
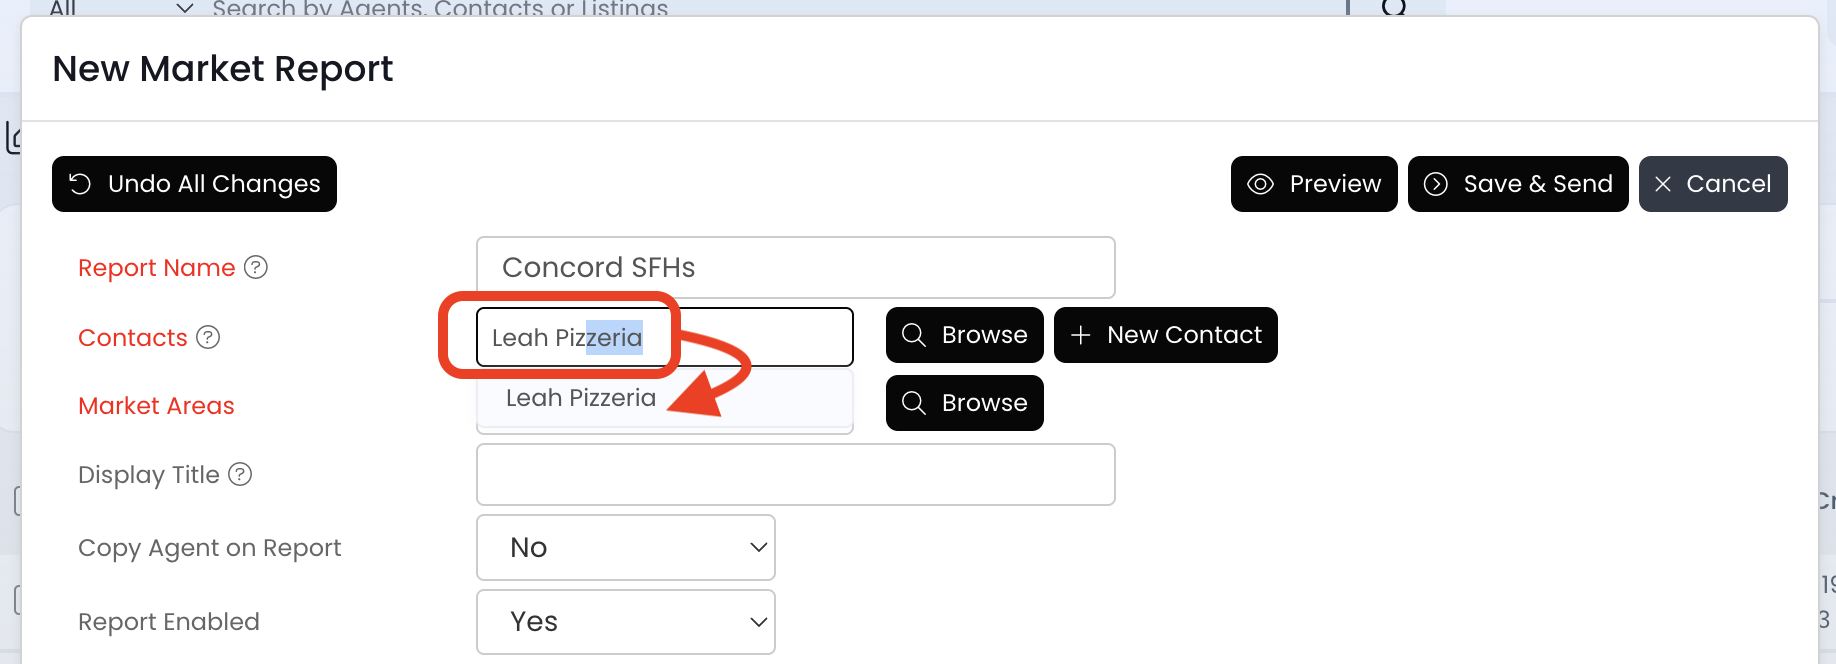
4.) Add a Report Name
- Include the report details like the areas and/or property types
- Exclude the contact's name - The name is automatically added to the end of the Report Name after you save it

5.) Type the contact's name, and then click on the record that populates underneath to add them.
- Repeat this process if you have more contacts to add - like their spouse, partner, family member, etc.
- Contact not populating? Click on the + New Contact button to add them now!
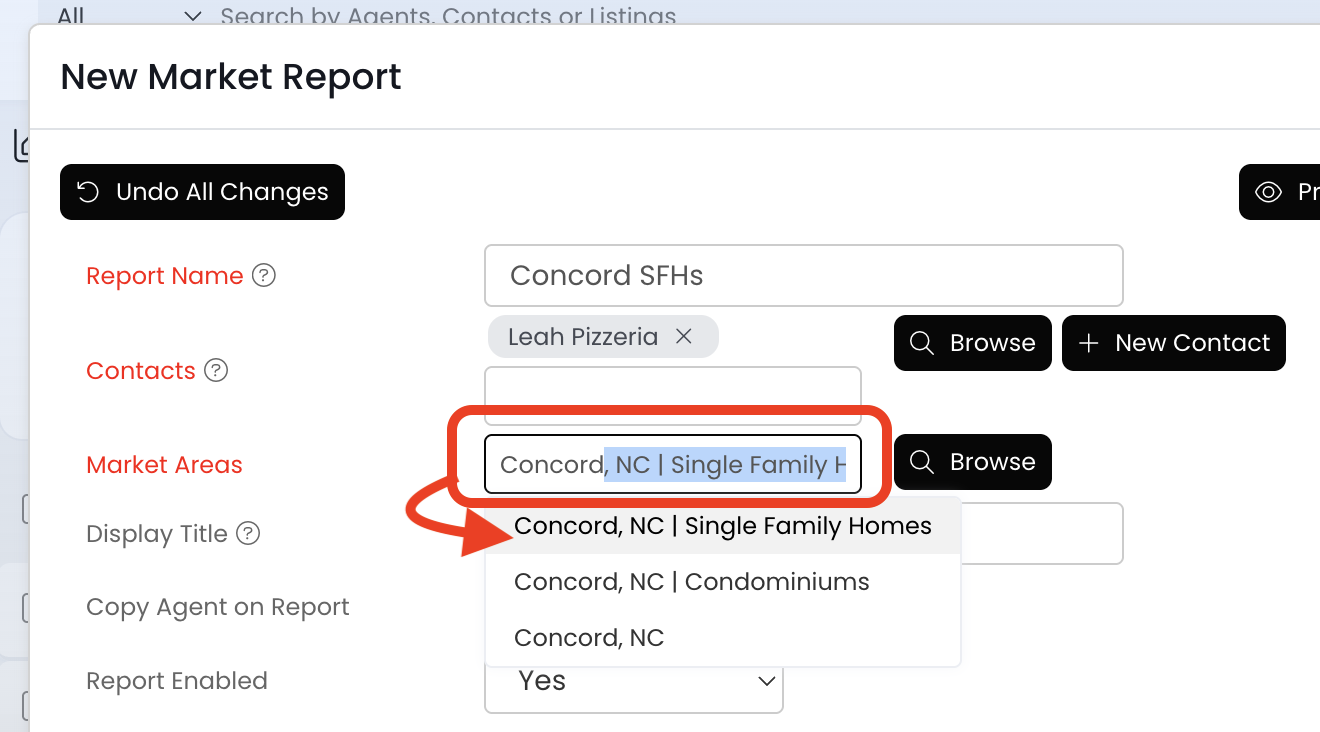
6.) Type the area into the Market Areas field, and then click on the appropriate record that populates underneath to add.
- Including Specific Property Types: Select the option with the property type at the end of the area.
- EXAMPLE: "Concord, NC | Single Family Homes"
- Including All Property Types: Select the option with just the area name.
- EXAMPLE: "Concord, NC"
- More Than One Market Area: We recommend setting up separate reports for each area because the report will be very long with a lot of pages!
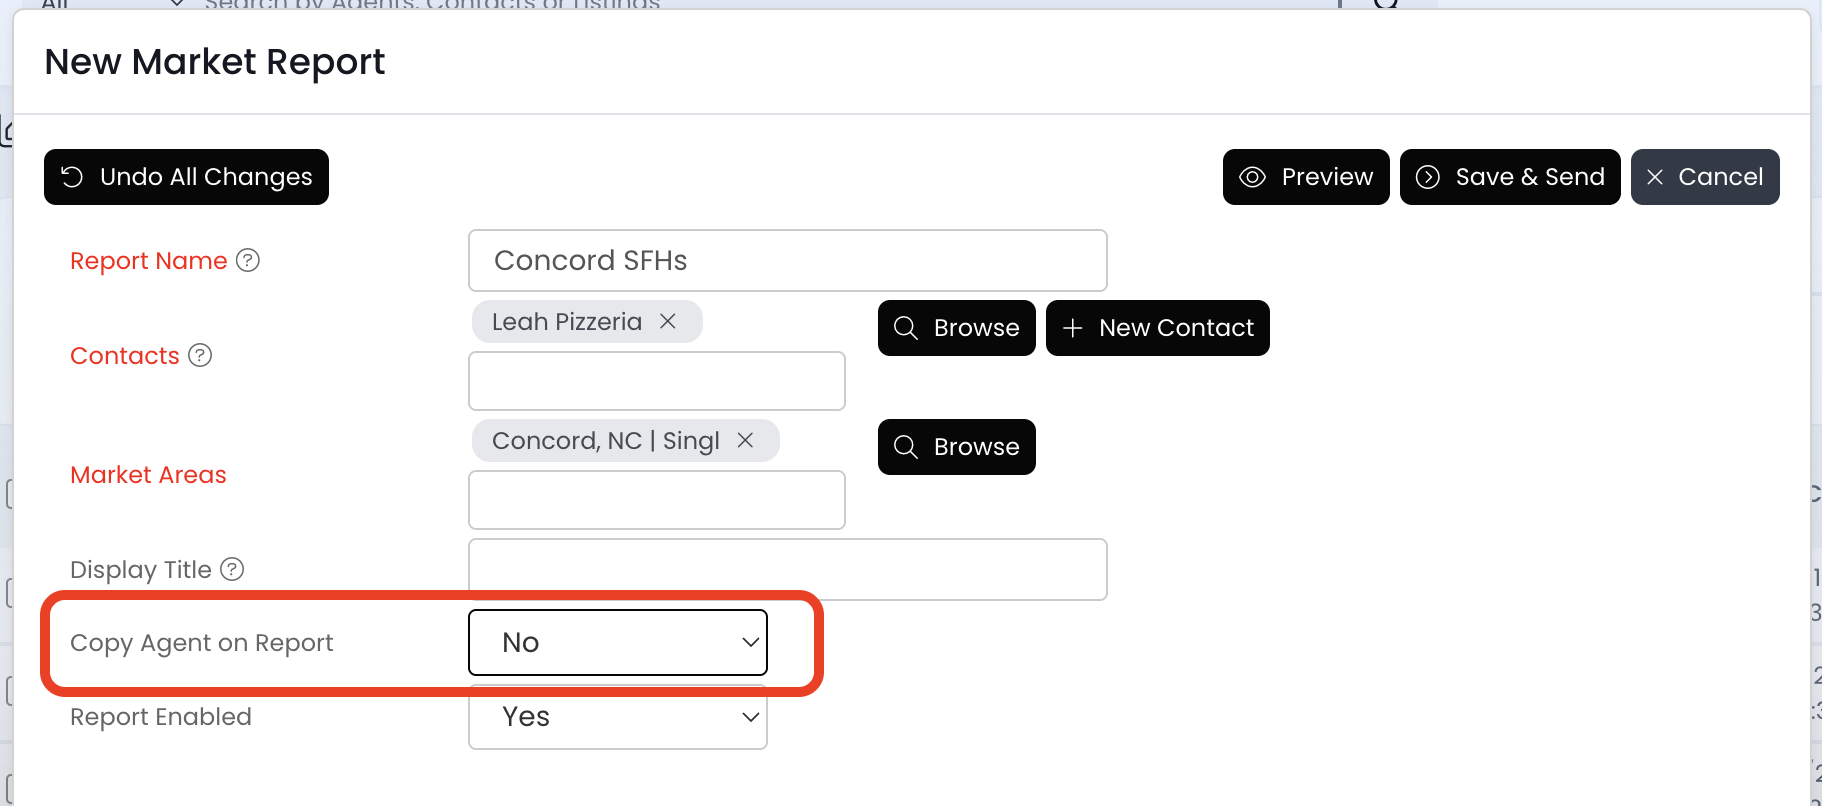
7.) Review the Copy Agent on Report field and make any necessary changes. This field controls your email notifications and always defaults to NO.
- YES: You will receive the market reports by email
- NO: You will not receive the market reports by email
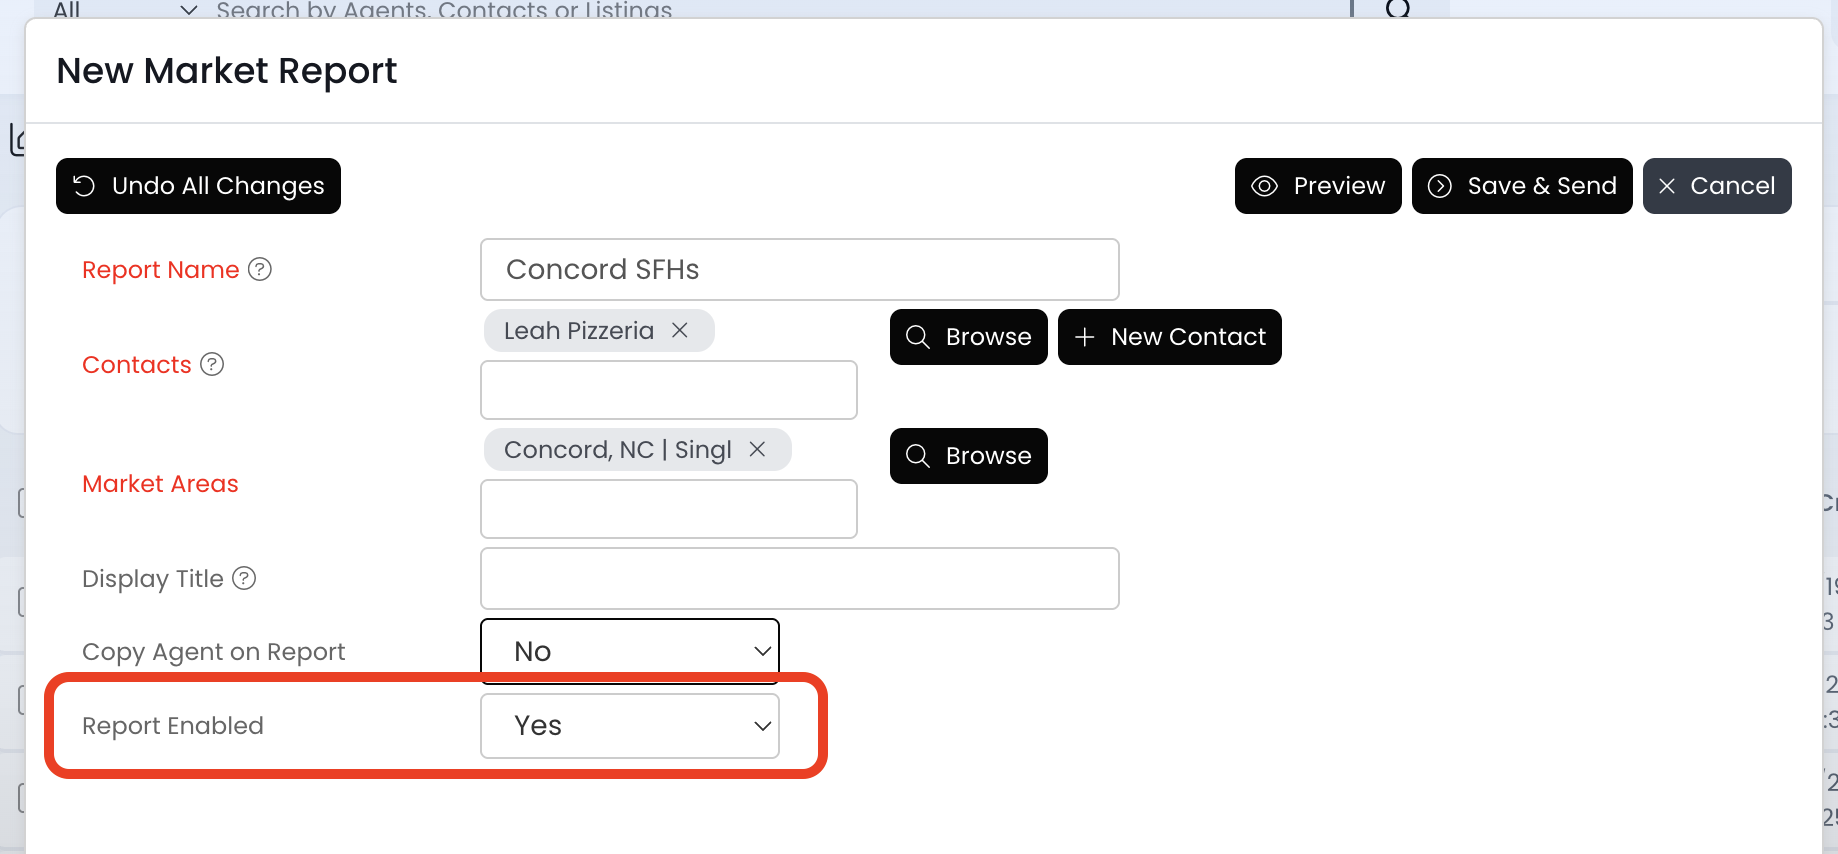
8.) Review the Report Enabled field and make any necessary changes. This field controls the contact's email notifications and always defaults to YES.
- YES: The people listed in the "Contacts" field will receive the market reports by email
- NO: The people listed in the "Contacts" field will not receive the market reports by email
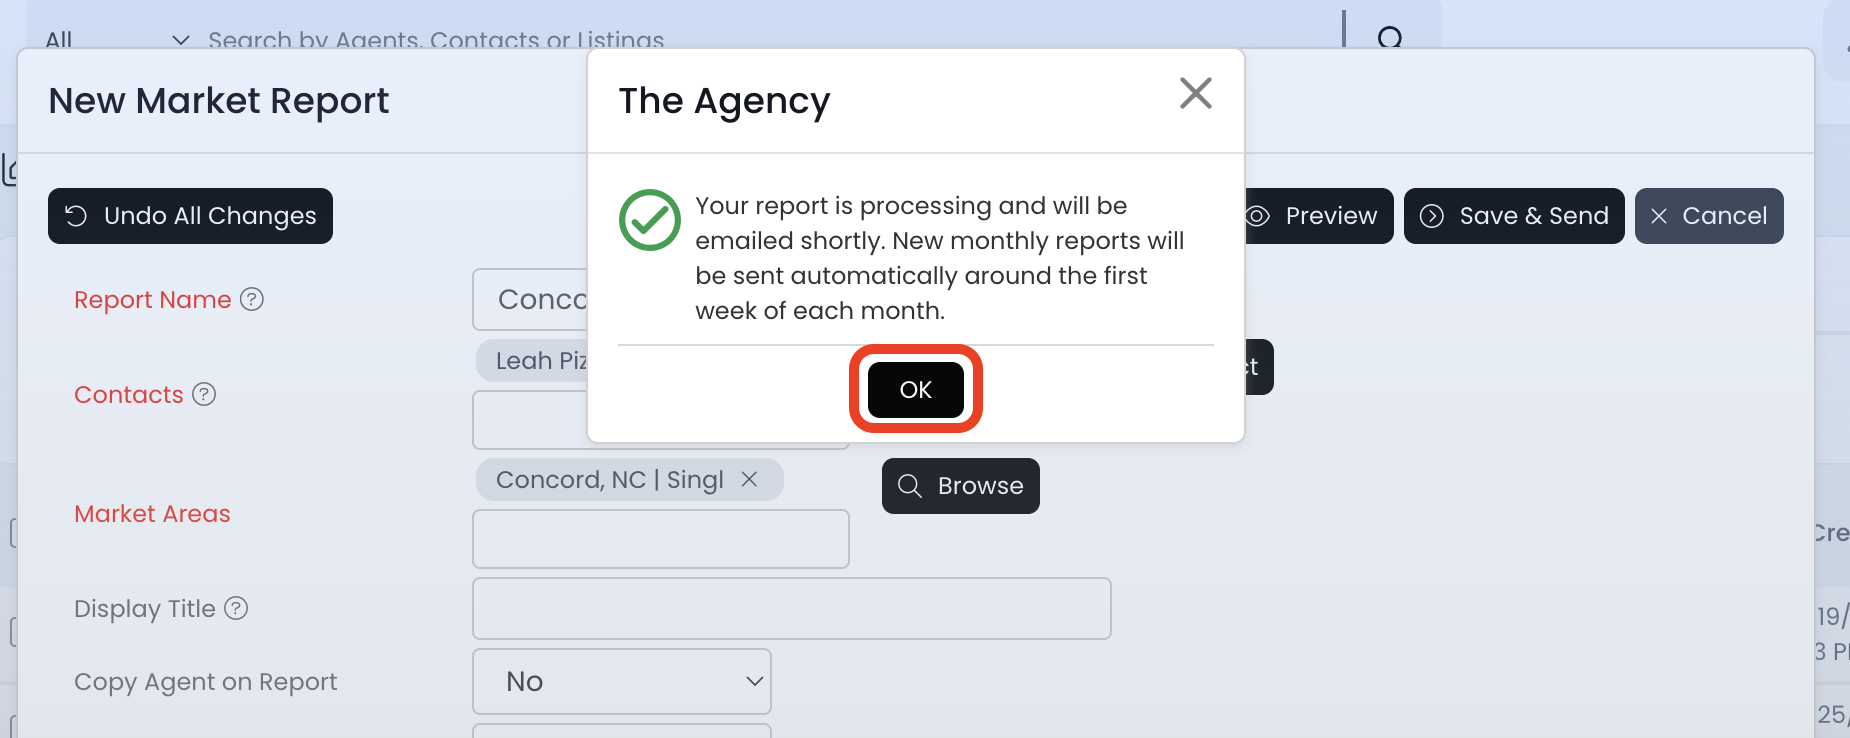
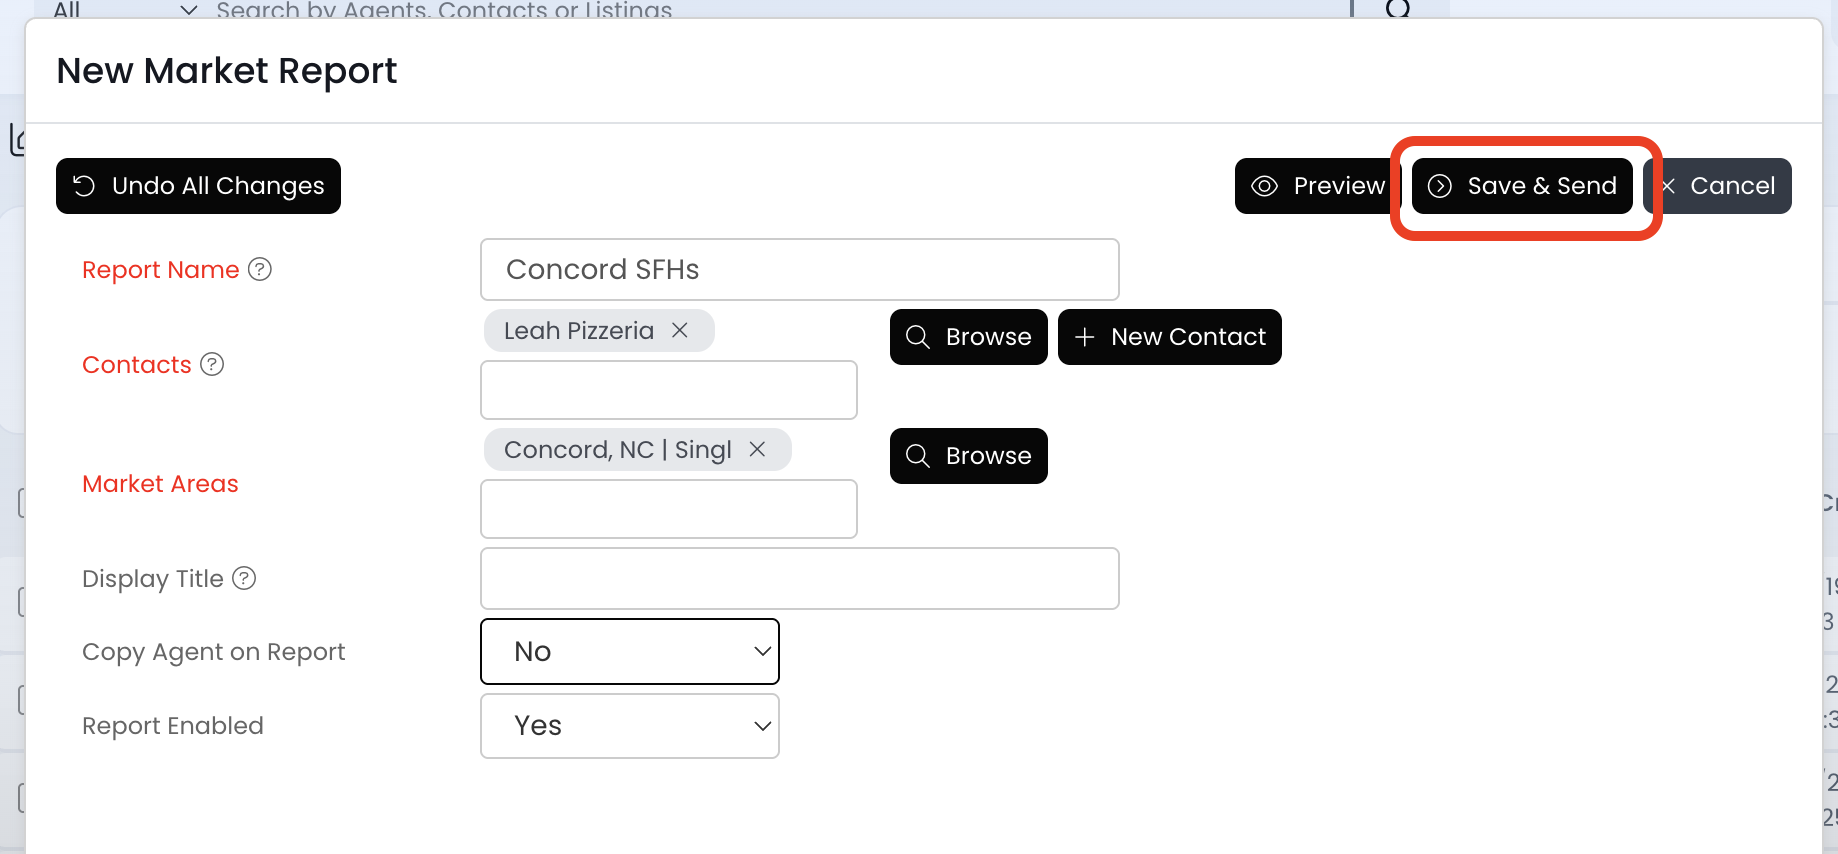
9.) Click the Save & Send button to save the report.
- The contact(s) will receive the most recent market report shortly after saving.
- If you've set the Report Enabled field to NO, the contact(s) will not receive a report.
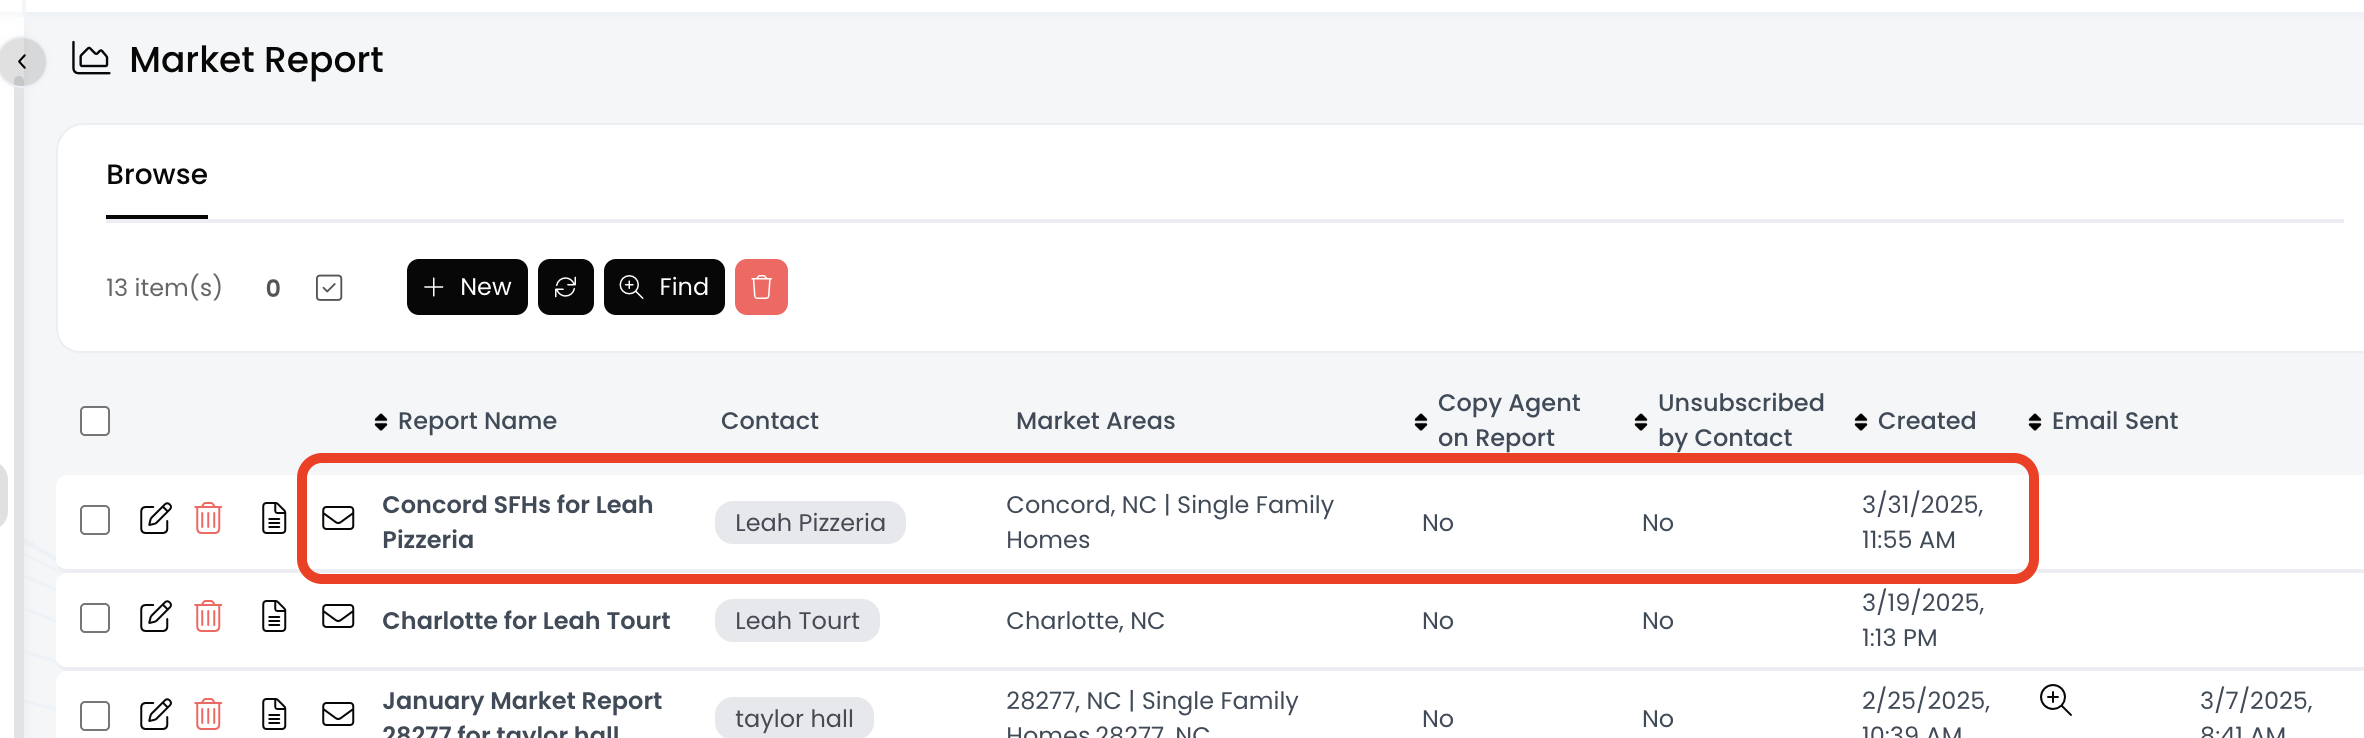
10.) Now you should receive the following pop-up confirming your report has been saved successfully. Click the OK button to exit, and you should see the market report at the top of the list: