

 3
3
The campaign tag feature manages the contacts on a drip campaign. Each drip campaign is associated with a unique campaign tag, which must be added to the contact to initiate the drip campaign.
📺 Click here to watch the video tutorial 📺
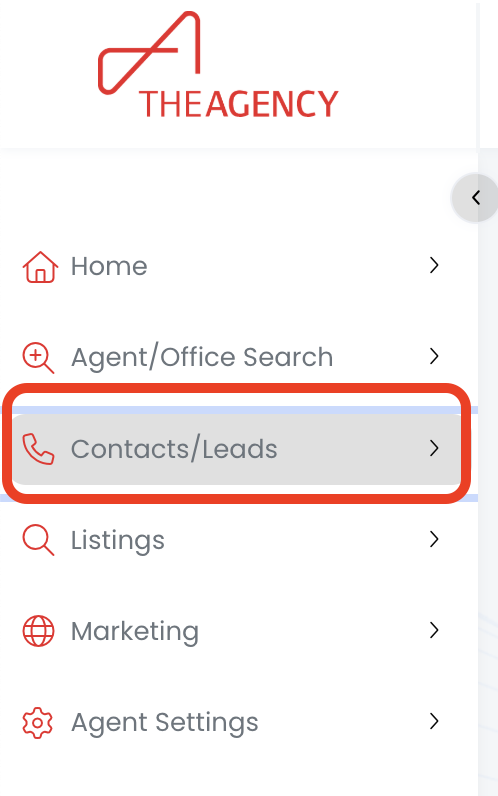
1.) Click on the Contacts/Leads menu
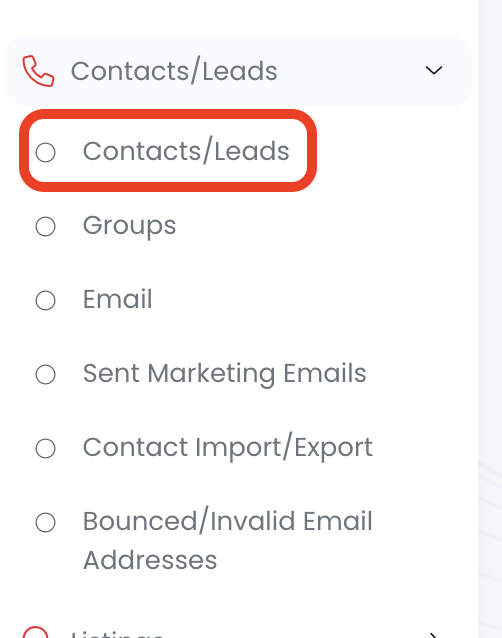
2.) Click on the Contacts/Leads option
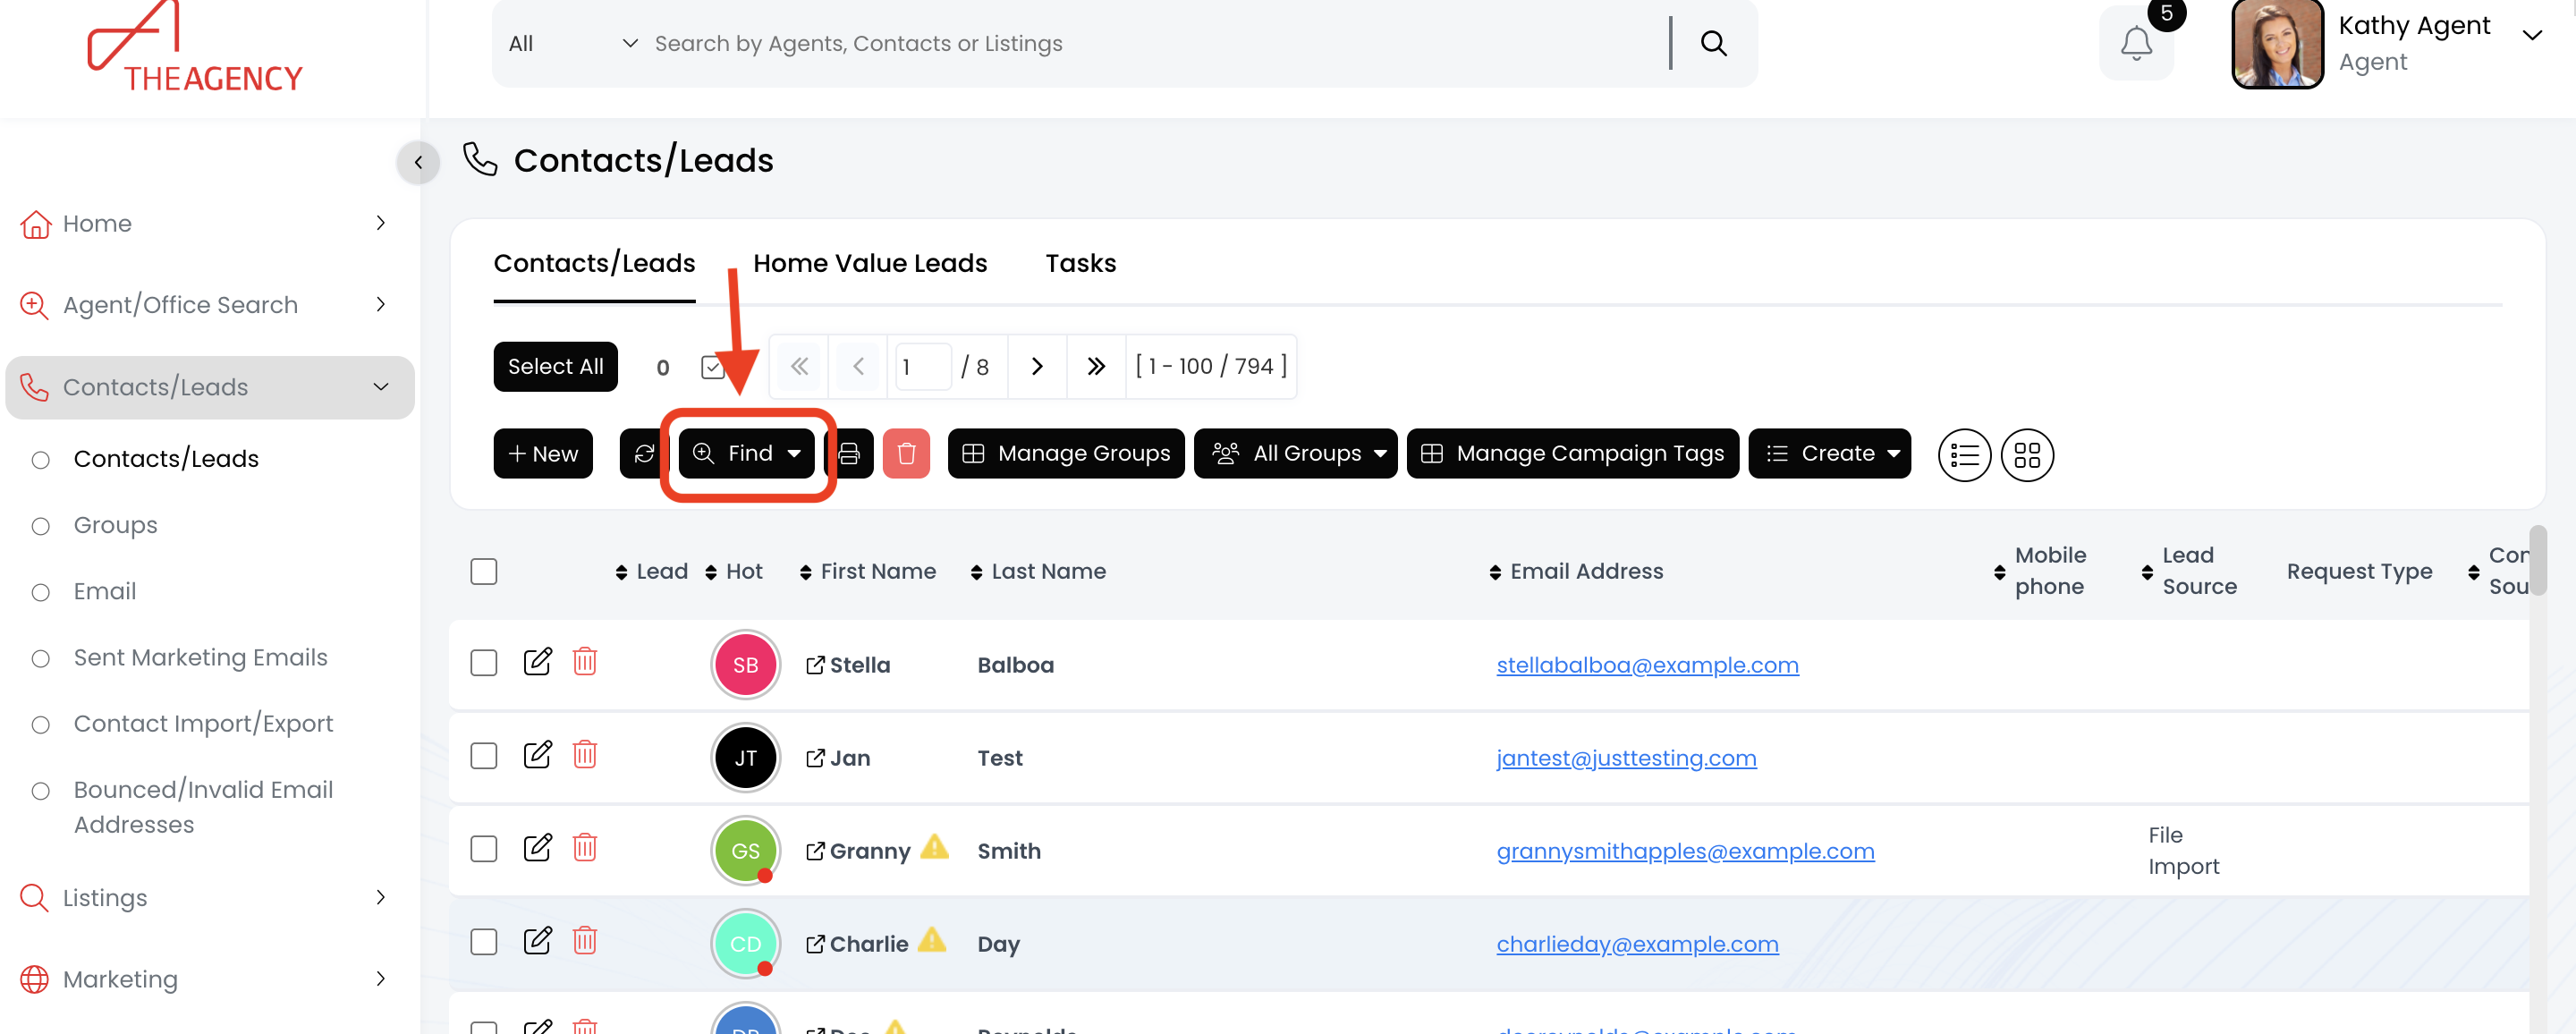
3.) Click on the Find button
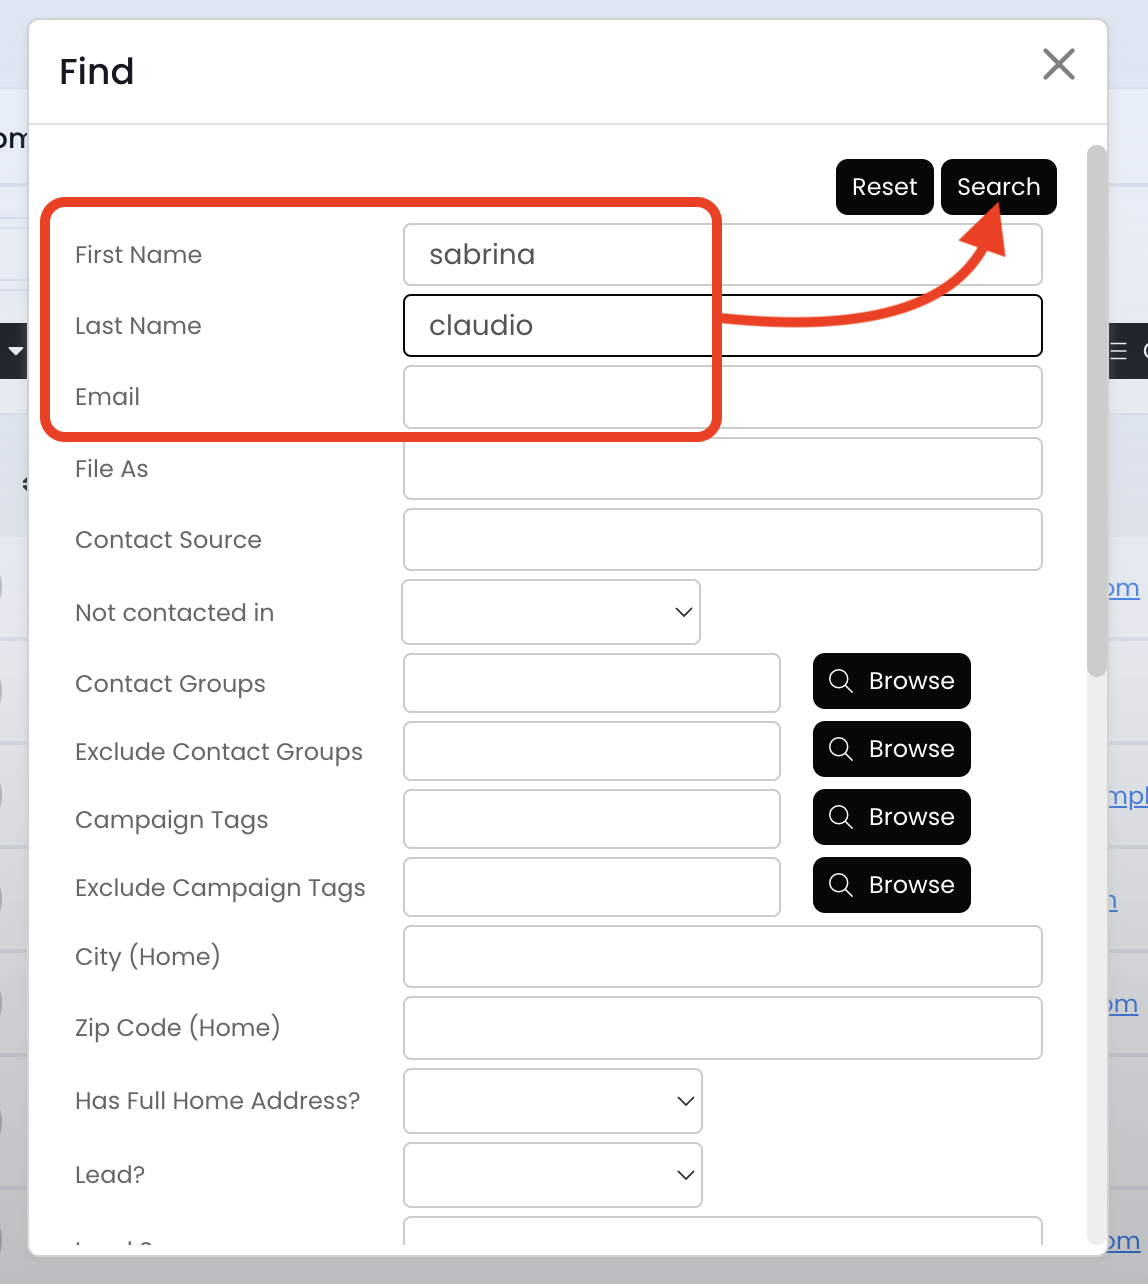
4.) Search for the contact using the first name, last name, or email fields and then hit Search
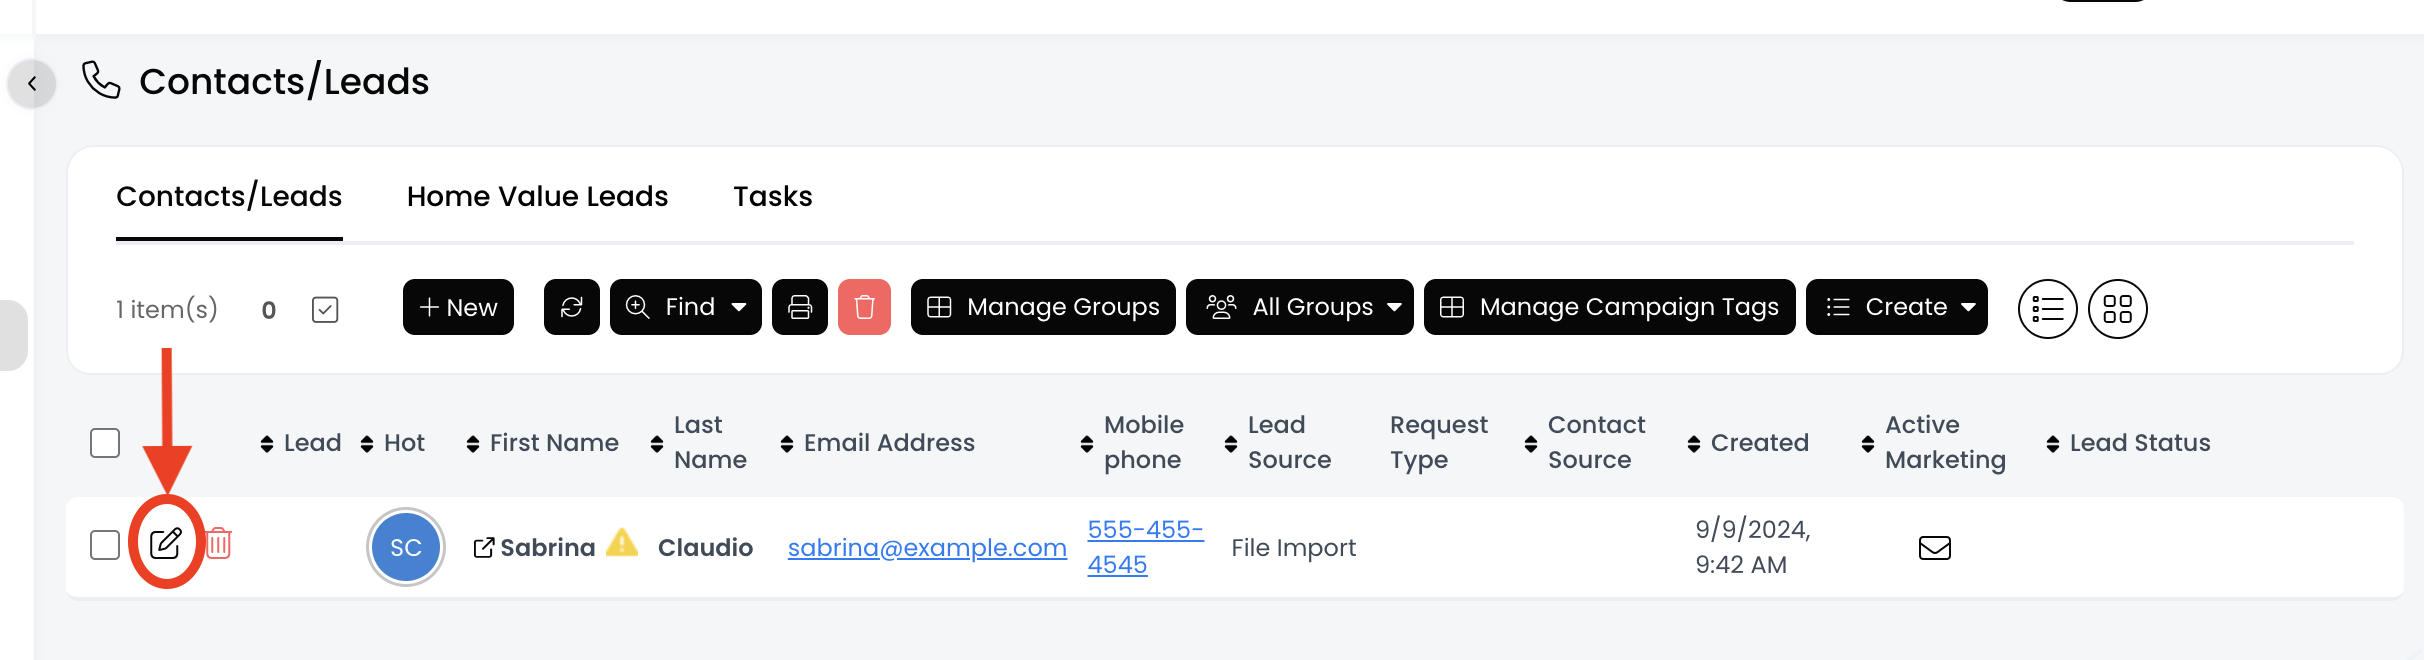
5.) Click on the pencil icon
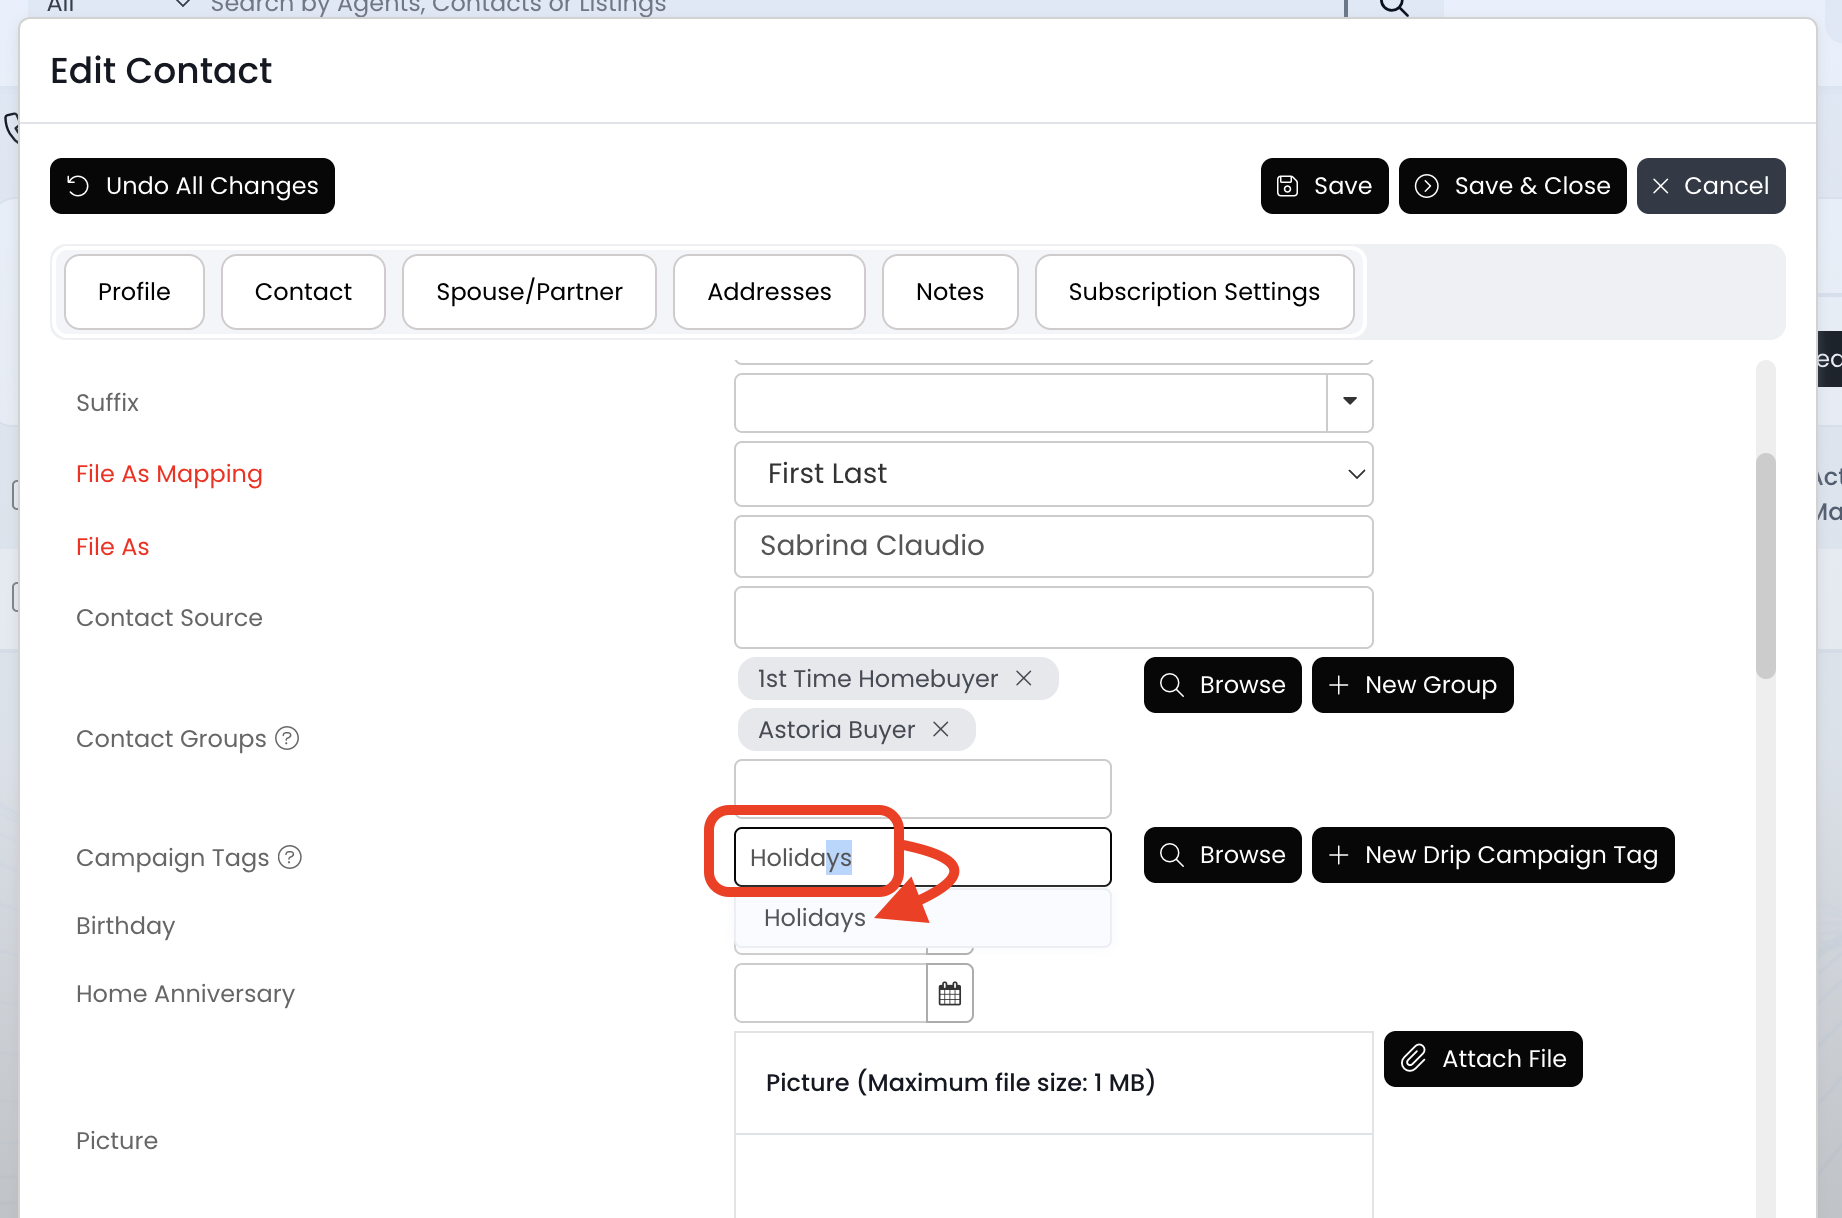
6.) In the "Campaign Tag" field, type the campaign tag name, and then click on the option that populates underneath
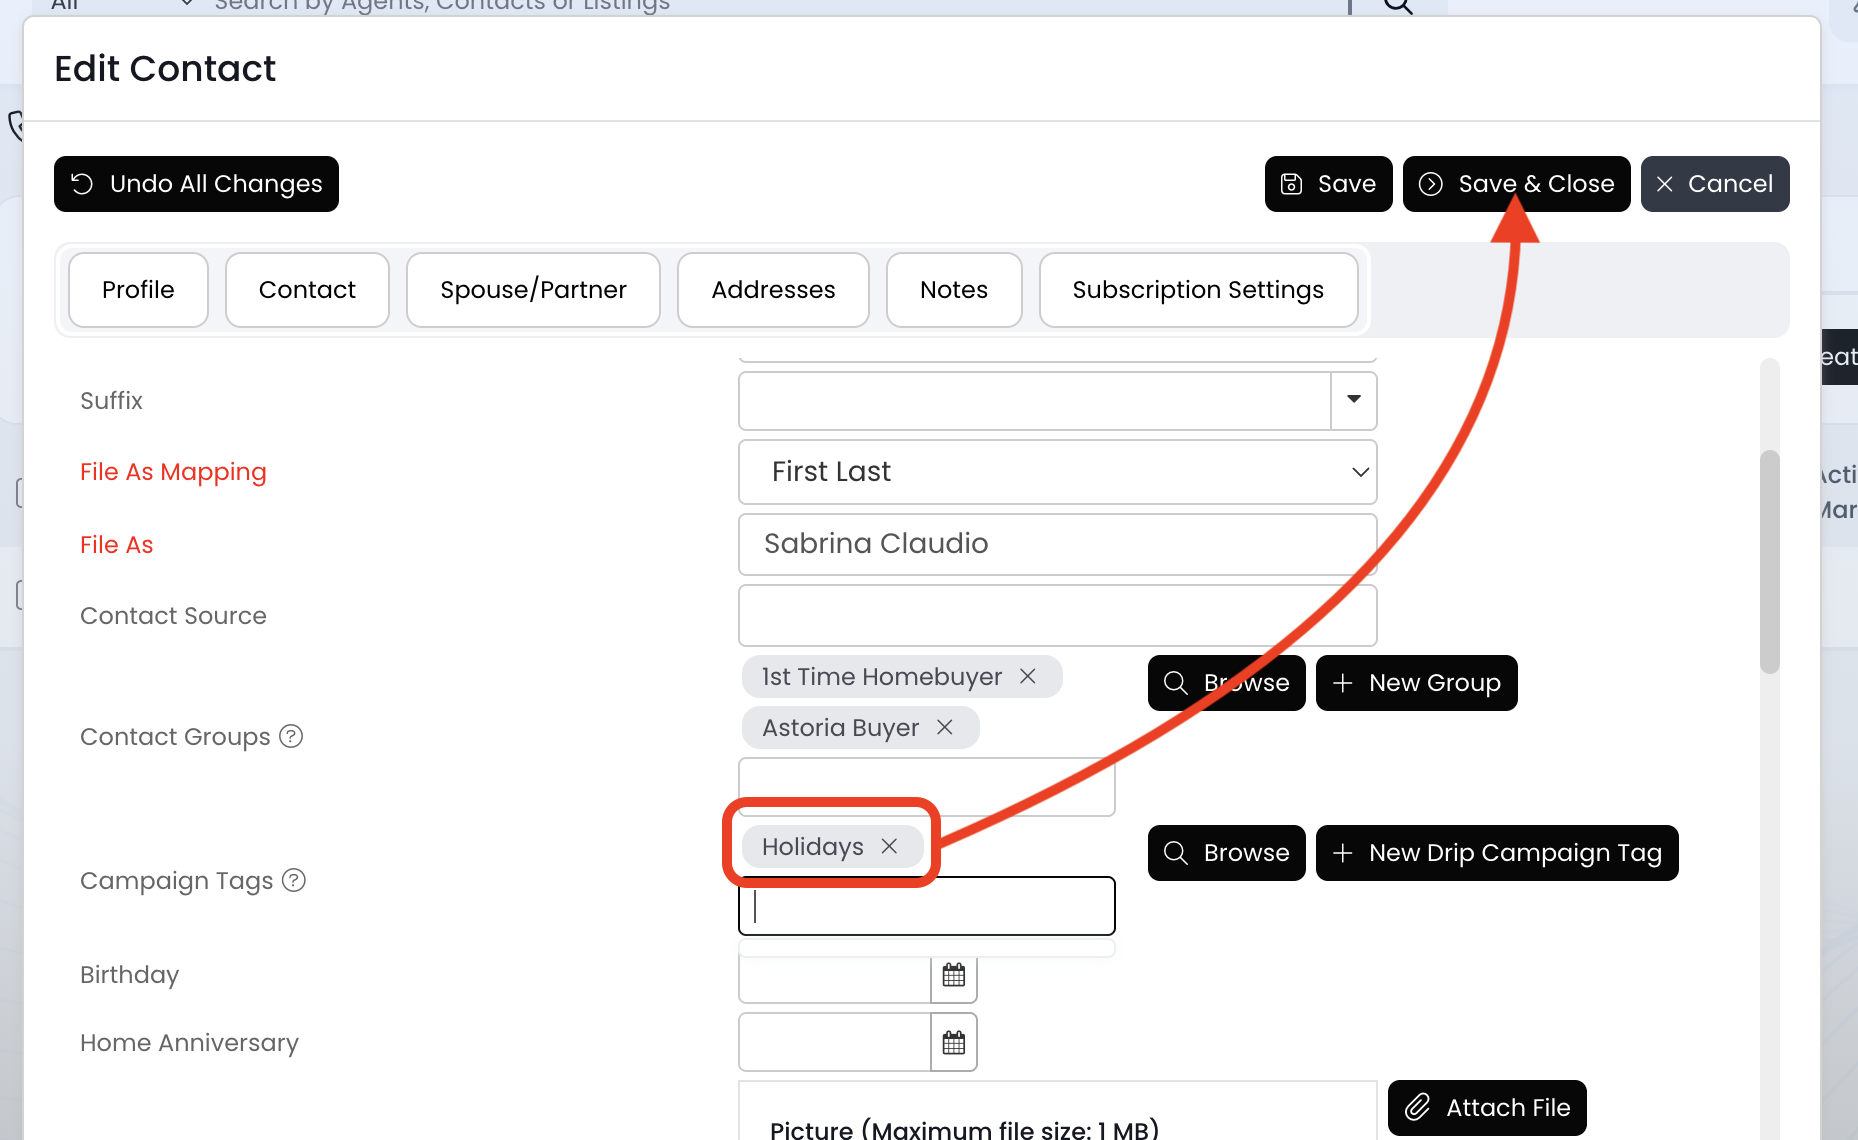
7.) You should now see the campaign tag has been added above. Once you confirm that, click on the Save & close button
8.) Now this contact has been added to that drip campaign!

