

 77
77
If you have a company-approved banner (created or approved by your MAM), you can easily add it to the top of any ActivePipe template.
Follow these steps:
1. Open your eBlast template
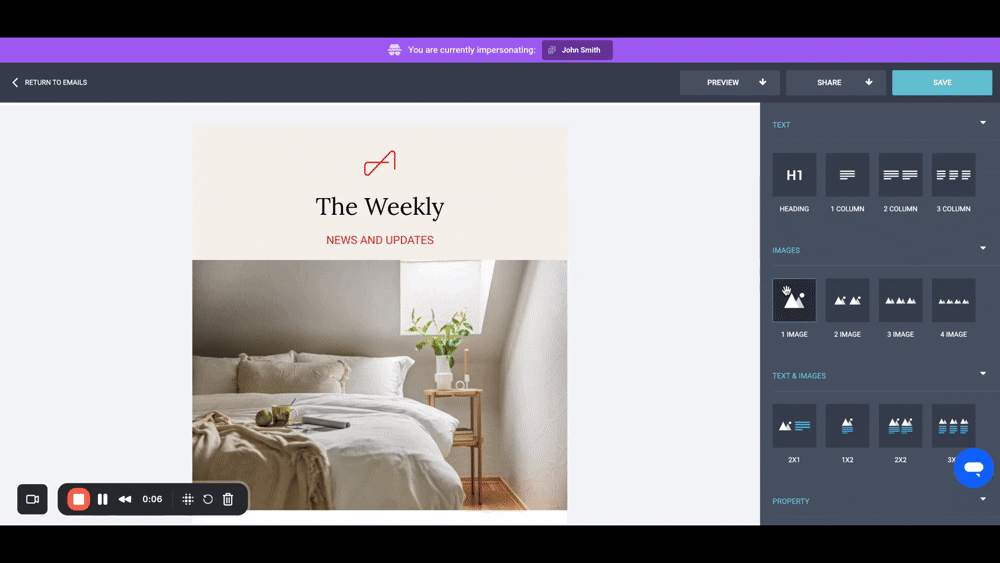
At the top, you’ll see the Agency logo and a default header panel.
2. Add your custom banner image
-
From the right-side Toolbar, drag the “1 Image” block (under the “Images” section) just below the default header panels.
-
Click on the new image panel and select the Camera icon that appears in the center.
-
In your Image Library, click Upload Image to select your banner file.
-
Once uploaded, click the image to insert it into your draft.
3. Add a hyperlink (optional but recommended)
-
Click the image panel again and select the Link icon next to the Camera.
-
Paste your desired URL—typically your agent page or personal website.
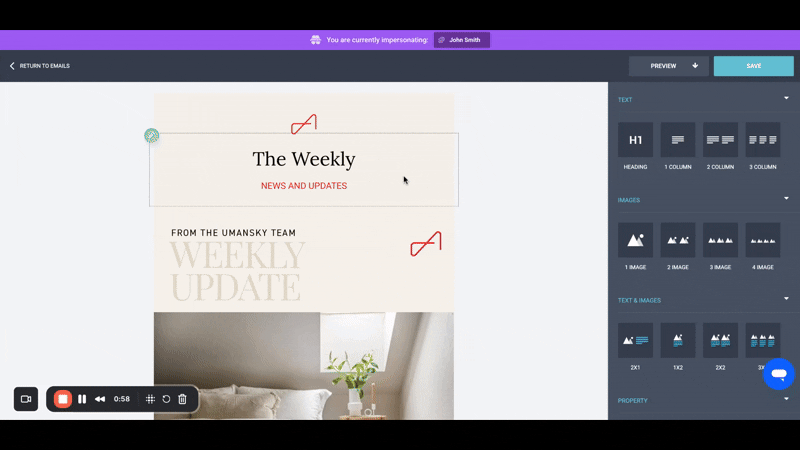
4. Remove default header panels
-
Click into the logo panel, select the three dots, then click the Trash icon.
-
Repeat this process for the header text panel and the small beige spacer.
Your custom banner will now appear at the top of your eBlast. You can continue editing or scheduling the eBlast as usual.

